Lighten Up Your Smile: A StepbyStep Guide on How to Whiten Teeth in Lightroom
A bright, radiant smile is one of the most attractive features of a person’s face. It can light up a room, exude confidence, and make a lasting impression on anyone you meet. However, years of coffee, tea, or wine consumption, smoking, and poor dental hygiene can cause teeth to become discolored, dull, and unappealing. Fortunately, there are several ways to whiten teeth, including home remedies, professional treatments, and photo editing techniques. In this guide, we will focus on the latter and show you how to whiten teeth in Lightroom, Adobe’s popular photo editing software, to enhance your portraits and selfies effortlessly. Whether you are a professional photographer or a social media enthusiast, you know that a picture is worth a thousand words, and a perfect smile can make it even more valuable. By learning how to whiten teeth in Lightroom, you can take your photography skills to the next level, and improve your online presence, personal branding, or client satisfaction. In this tutorial, we will walk you through a step-by-step process of how to whiten teeth in Lightroom, from importing your photos to exporting the final results, and provide you with practical tips, tricks, and shortcuts to save you time and effort. So, grab your camera, your laptop, and let’s get started on brightening up your smile!
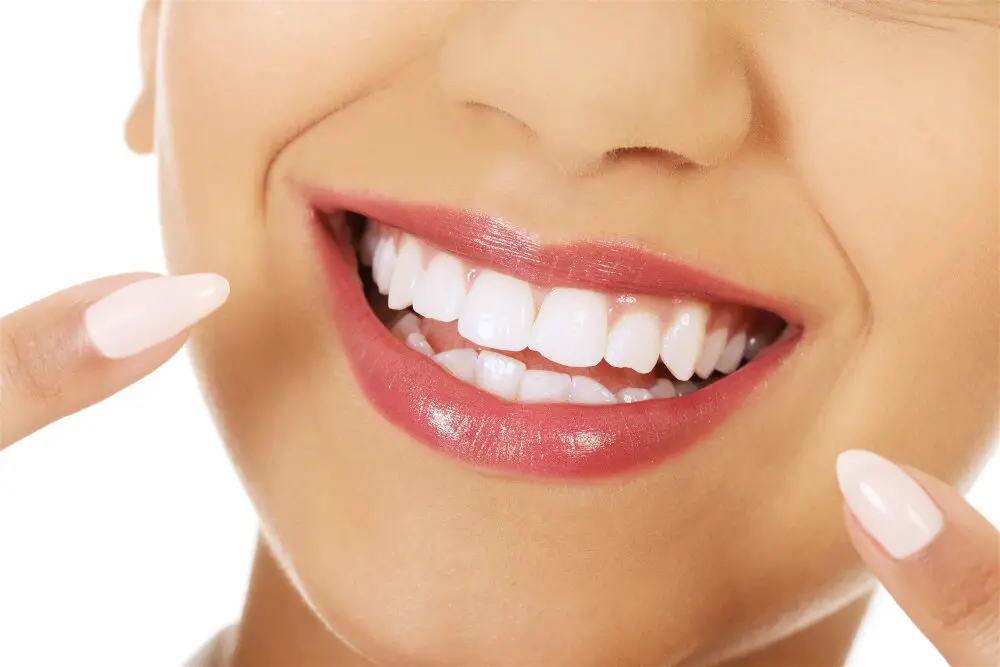
Having a bright smile is not only aesthetically pleasing but also has many benefits. A bright smile can boost your confidence and self-esteem, making you feel more comfortable and positive in social situations. It can also make you appear more attractive and approachable to others, which can lead to better personal and professional relationships. Additionally, a bright smile can indicate good oral hygiene and health, which is important for overall well-being. Thus, taking steps to whiten your teeth and maintain a bright smile can have a significant impact on your life and overall happiness.
Lightroom is a powerful tool for enhancing the appearance of photographs, and it can also be used to improve the look of teeth in portraits. By adjusting the color and tone of the image, Lightroom can brighten up dull or yellowed teeth, making them appear whiter and more vibrant. Using the brush tool, users can selectively target the teeth and apply adjustments to them, without affecting the rest of the image. By adjusting the exposure, highlights, and saturation, users can create a natural-looking improvement in the appearance of teeth, without making them appear overly bright or artificial. With a few simple adjustments, Lightroom can make a big difference in the quality of portrait photographs, giving users the ability to create stunning images with a bright, vibrant smile.
The purpose of this article is to educate and guide readers on how to use Lightroom to whiten their teeth in photos. The author aims to provide a step-by-step approach that is easy to follow, regardless of the reader’s level of expertise in using Lightroom. The article emphasizes the importance of having a bright, white smile in photos and how it can enhance the overall look and feel of an image. By using Lightroom’s various tools and features, the author intends to help readers achieve a natural-looking, brighter smile in their photos, which can boost their confidence and make their images more appealing.
Understanding Teeth Whitening in Lightroom

Teeth whitening has become increasingly popular in recent years, with more and more people seeking ways to achieve a brighter, more radiant smile. While there are a variety of methods available to whiten teeth, Lightroom is a popular software program that can be used to enhance the appearance of teeth in photographs. Understanding how to use Lightroom to whiten teeth can help you achieve a natural-looking, bright smile that will take your photos to the next level. The process of teeth whitening in Lightroom involves a variety of steps, including selecting the appropriate brush tool, adjusting the exposure and saturation levels, and carefully painting over the teeth to ensure a natural-looking effect. It is important to approach teeth whitening in Lightroom with care, as over-exaggerating the whitening effect can result in an unnatural appearance that detracts from the overall quality of the photograph. By understanding the nuances of teeth whitening in Lightroom, you can achieve a subtle, yet effective result that will enhance the beauty of your photographs and leave you feeling confident and radiant.
Adobe Lightroom is a powerful software that provides photographers with a wide range of editing tools to enhance their images. With its intuitive interface, Lightroom makes it easy to organize, edit, and share photos. Its advanced features allow users to adjust exposure, color, and contrast, as well as remove unwanted elements from photos. One of the most popular features of Lightroom is the ability to whiten teeth, which can make a significant difference in portrait photography. By using the adjustment brush and adjusting the exposure, saturation, and clarity, photographers can brighten and whiten teeth to create a stunning and natural-looking smile. Lightroom is an essential tool for any photographer looking to take their images to the next level.
Teeth whitening is a cosmetic procedure that involves removing stains and discoloration from the surface of the teeth to achieve a brighter smile. There are several methods for teeth whitening, including in-office treatments, at-home kits, and natural remedies. One common method is using Lightroom, a photo editing software that can enhance the brightness and whiteness of teeth in digital images. This process involves adjusting the exposure, highlights, and saturation of the teeth to make them appear whiter and brighter. By following a step-by-step guide and using the correct tools in Lightroom, individuals can achieve a radiant smile that they can be proud of.
Lightroom is a powerful tool for photographers, and it can also be used to enhance the appearance of teeth in portraits. Teeth whitening in Lightroom is a quick and easy way to brighten up a smile and give your photos a polished, professional look. One of the biggest benefits of using Lightroom for teeth whitening is the level of control it gives you over the process. You can adjust the brightness and saturation of specific areas of the image, allowing you to lighten up teeth without overexposing the rest of the photo. This precision makes it possible to achieve natural-looking results that enhance the beauty of the subject without looking fake or artificial. Additionally, Lightroom’s non-destructive editing tools mean that you can make changes to your image without permanently altering the original file, giving you the flexibility to experiment and fine-tune your edits until you achieve the desired effect.
Preparing Your Photo for Teeth Whitening
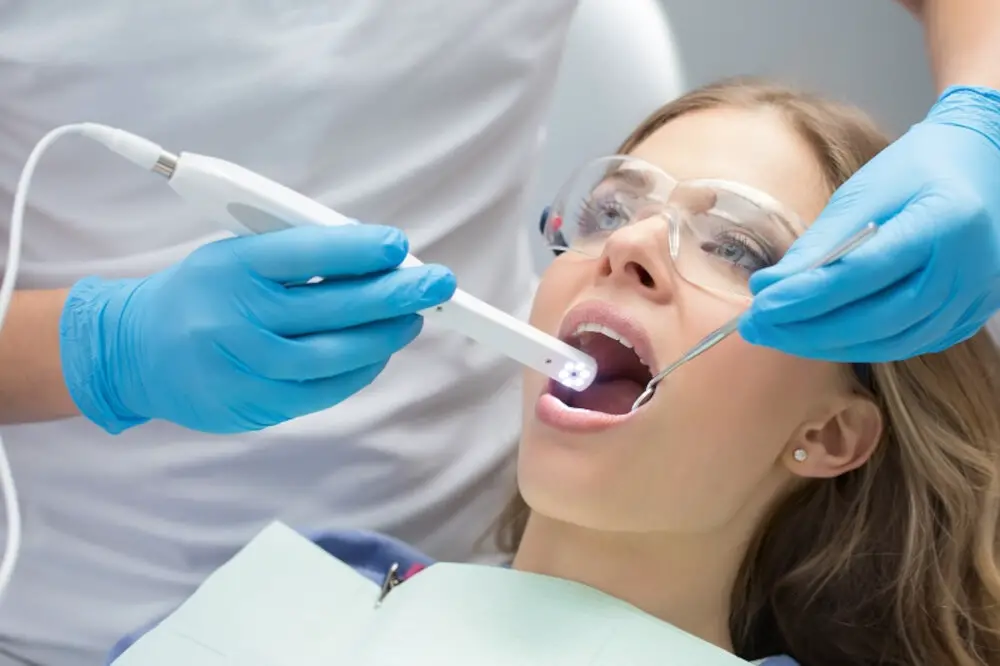
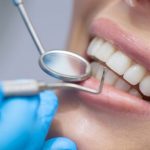
Preparing your photo for teeth whitening is an essential step towards achieving a bright, radiant smile. The first thing you need to do is to choose a high-quality photo that clearly shows your teeth. Ideally, the photo should be well-lit and taken in natural light to ensure that the color of your teeth is accurately represented. If possible, avoid using photos that are too dark or too bright as they can affect the final outcome of the teeth whitening process. Once you have selected the ideal photo, the next step is to make some basic adjustments to the image in Lightroom. This includes cropping the photo to remove any unnecessary background elements and adjusting the exposure, contrast, and brightness to ensure that the teeth are clearly visible. You may also want to adjust the white balance to ensure that the photo has a natural look. By taking these steps, you can ensure that your photo is ready for the teeth whitening process and that the final result will be a bright, natural-looking smile that you can be proud of.
When it comes to editing photos, selecting the right image is crucial. Before you begin any editing, you should consider the lighting, exposure, and focus of the photo. A well-lit photo with good exposure and sharp focus will make the editing process much easier and produce better results. Additionally, you should also consider the subject matter and composition of the photo. Choose a photo that has a clear subject and is composed well. A cluttered or poorly composed photo can be difficult to edit and may not produce the desired results. By taking the time to choose the right photo for editing, you can ensure that your final product is of the highest quality.
Before starting the teeth whitening process in Lightroom, it is essential to make some basic adjustments to ensure the best possible outcome. Firstly, it is important to correct the white balance of the image to ensure that the color of the teeth is accurate. Secondly, adjusting the exposure and contrast will bring out the details of the teeth and make them more visible. Thirdly, sharpening the image will enhance the texture of the teeth, making them appear more defined. Lastly, it is recommended to remove any distracting elements in the background, which can take away from the focus on the teeth. By making these basic adjustments, the teeth whitening process can be more effective and produce a natural-looking result.
Editing in RAW format is crucial for achieving the best results when it comes to teeth whitening in Lightroom. RAW format is a type of image file that captures all the data recorded by the camera’s sensor, providing a wider range of editing possibilities. RAW files have a higher bit depth, allowing for more detail and color information to be captured. This allows you to make more precise adjustments to the exposure, contrast, and color balance of the image without sacrificing quality. When it comes to teeth whitening, RAW format lets you adjust the brightness and saturation of the teeth while keeping the natural look of the surrounding areas. It also allows you to correct any color casts caused by the lighting conditions, resulting in a perfectly white and natural-looking smile.
How to Whiten Teeth in Lightroom
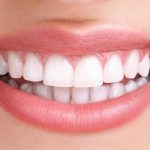
A bright and healthy smile can make a huge difference in your photos, but sometimes, even with the best oral hygiene, our teeth can appear yellow or discolored in pictures. Luckily, with Adobe Lightroom, you can easily whiten and brighten your teeth in just a few simple steps. No need for expensive teeth whitening treatments or complicated editing software, Lightroom has got you covered. To begin, open your desired photo in Lightroom and select the adjustment brush tool. Adjust the brush size to fit the size of your teeth, and then adjust the exposure and saturation levels to your preference. Next, carefully brush over your teeth, being sure not to go over the edges of your teeth onto your gums or lips. By adjusting these levels, you can easily brighten and whiten your teeth without over-exposing the rest of your photo. With just a few clicks, you can have a dazzling smile in all of your photos.
Teeth whitening in Lightroom is a relatively simple process that can make a huge difference in the appearance of your portraits. The first step is to select the teeth that you want to whiten using the adjustment brush. Next, adjust the brush size and feathering to ensure you only lighten the teeth and not the surrounding areas. Then, increase the exposure and decrease the saturation to create a desaturated, lighter effect. Finally, adjust the brush settings to ensure that you don’t overdo the effect and create an unnatural appearance. With these simple steps, you can quickly and easily whiten teeth in Lightroom for a brighter, more confident smile in your photos.
Adjusting brush tool settings is an essential step when it comes to teeth whitening in Lightroom. The brush tool is a powerful feature in Lightroom that allows us to target specific areas of the image and apply adjustments selectively. To whiten teeth, we need to adjust the brush tool settings in a way that allows us to lighten up the affected areas without affecting the rest of the image. This involves adjusting the brush size, feathering, and flow to ensure that we can apply the whitening effect precisely where we want it. By taking the time to adjust the brush tool settings, we can achieve a natural-looking result that enhances the overall quality of the image.
When it comes to teeth whitening in Lightroom, achieving natural-looking results is key. One important tip is to avoid over-whitening your teeth, as this can result in an unnaturally bright, almost fake-looking smile. Instead, start with subtle adjustments and build up to your desired level of brightness. Another tip is to pay attention to the color balance of your image, as this can affect the overall appearance of your teeth. Adjusting the temperature and tint of your photo can help ensure that your teeth look bright and healthy without appearing too yellow or blue. Finally, be mindful of the lighting in your photo, as harsh or uneven lighting can make your teeth look less natural. By following these tips, you can achieve a beautiful, natural-looking smile in your Lightroom photos.
Additional Tips for Teeth Whitening in Lightroom
Achieving a brighter smile in Lightroom requires more than just adjusting the exposure and saturation levels of an image. Here are some additional tips to help you enhance your teeth whitening edits:Firstly, be mindful of the color balance of the image. Teeth naturally have a slight yellowish tint, so over-whitening them can result in an unnatural, blue-ish hue. To avoid this, adjust the temperature and tint sliders in Lightroom until the overall color balance of the image is neutral. This will help you achieve a more natural-looking white smile. Additionally, consider using the adjustment brush tool to selectively brighten and whiten the teeth, rather than applying the effect to the entire image. This will allow you to achieve a more precise and controlled edit. Another tip is to pay attention to the details of the teeth. Zoom in and examine the teeth closely to identify any areas that may require additional editing. For example, if there are areas of discoloration or stains on the teeth, use the spot removal tool to remove them. Additionally, if the teeth appear dull or lack definition, use the clarity and sharpening sliders to enhance their appearance. By paying attention to these small details, you can achieve a more polished and professional-looking teeth whitening edit in Lightroom.
One of the most effective ways to enhance teeth color in Lightroom is by using the HSL/Color panel. With this powerful tool, you can easily adjust the hue, saturation, and luminance of the yellow and orange colors in your image, which are the main culprits for dull-looking teeth. By increasing the saturation and luminance of the yellows and oranges, you can make the teeth appear brighter and more vibrant, without affecting the rest of the image. However, it’s important to use this tool with moderation to avoid making the teeth look unnaturally white or oversaturated. With a few tweaks in the HSL/Color panel, you can give your smile that extra pop it deserves.
When it comes to teeth whitening in Lightroom, it’s important to avoid going overboard with the whitening effect. While having bright white teeth may seem like the ultimate goal, it’s important to remember that natural teeth shades vary and can range from ivory to light yellow. Overwhitening can make teeth look unnatural and even fake. It’s also important to consider the subject’s skin tone and eye color when adjusting the teeth’s brightness. A subtle and natural-looking result is key, so it’s recommended to start with a light touch and gradually build up the effect until the desired shade is reached. Remember that teeth whitening should enhance the overall image, not be the main focus.
Subtle changes can make a significant impact on the overall quality of an image. In the context of teeth whitening in Lightroom, small adjustments such as increasing the exposure, reducing the saturation, and tweaking the tone curve can transform a dull and yellowish smile into a bright and radiant one. It is crucial to avoid overdoing it, as excessive whitening can result in an unnatural and artificial look. By paying attention to the subtle changes, one can achieve a natural-looking and aesthetically pleasing result. Furthermore, this attention to detail can be applied to various aspects of photography and design, emphasizing the importance of precision and intentionality in creating visually compelling and captivating content.
Teeth whitening in Lightroom is an effortless way to enhance the beauty of a smile. With just a few clicks, one can take dull or yellowish teeth and transform them into a dazzling, bright white. The process involves selecting the teeth using the adjustment brush tool, adjusting the brush size and feathering, and then adjusting the exposure and saturation of the selected area. However, it’s important to exercise caution when using this tool, as over-whitening can result in an unnatural and unflattering appearance. Proper use of teeth whitening in Lightroom can greatly improve the overall look of a portrait and help individuals feel more confident in their smiles.
If you’re looking for a quick and easy way to brighten your smile, then Lightroom might be just the tool you need. This powerful photo-editing software is widely used by photographers around the world, but it’s also great for everyday users who want to enhance their photos. With Lightroom, you can easily remove stains and discoloration from your teeth, giving you a brighter, more confident smile. Whether you’re taking a selfie or capturing a special moment with friends and family, Lightroom can help you look your best. So why not give it a try? With just a few simple steps, you can transform your photos and brighten up your smile in no time.
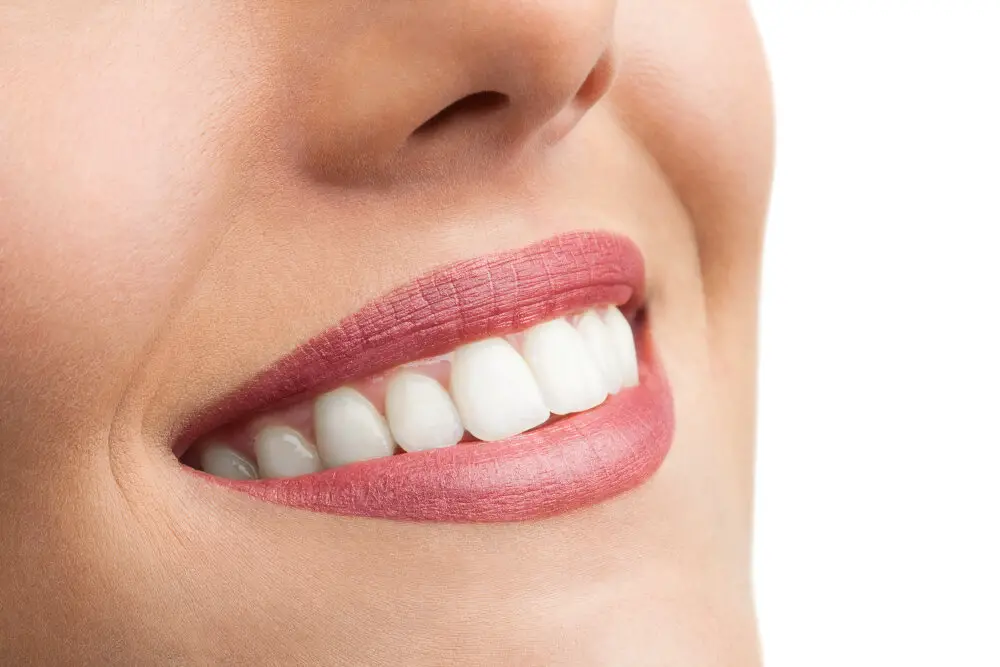
A bright smile is more than just a physical attribute; it has the power to affect our mood, confidence, and overall well-being. It can make us feel more approachable, attractive, and even boost our success in social and professional settings. A healthy and white smile is not only aesthetically pleasing, but it also indicates good oral hygiene, which is essential for our overall health. By following the step-by-step guide on how to whiten teeth in Lightroom, you have the opportunity to enhance your smile and the benefits that come with it. Remember, a smile is contagious, and it can brighten up someone else’s day as well as your own. So, let your smile shine, and spread positivity wherever you go.
Conclusion

In conclusion, achieving a brighter and whiter smile is now made easier with the help of Lightroom. This step-by-step guide has provided valuable insights on how to effectively and efficiently whiten teeth in Lightroom. By following the simple yet effective techniques discussed in this guide, anyone can transform their dull and stained teeth into a radiant and confident smile. Whether it’s for personal or professional use, having a brighter smile is a simple way to boost one’s confidence and overall appearance. With the power of Lightroom, anyone can achieve this goal and enjoy the benefits of a brighter, more beautiful smile. So go ahead and try out these techniques in Lightroom today, and let your smile shine!
Related posts:
 Whiten Your Teeth Instantly with Photoshop: A StepbyStep Guide
 Snow Teeth Whitening: A StepbyStep Guide on How to Achieve a Brighter Smile
 Get a Brighter Smile: Discover How to Whiten Bonded Teeth in 5 Simple Steps
 How Often Should You Whiten Your Teeth? A Dentist’s Recommended Guide
 How Long Does It Take to Whiten Teeth? A Comprehensive Guide to Achieving a Brighter Smile
 How to Brighten Your Smile: The Ultimate Guide to Using a Teeth Whitening Pen
 Whiten Between Teeth: Tips and Tricks for a Brighter Smile
 Whiten Between Teeth: Top Tips and Tricks for a Brighter Smile